That Annoying Shower Squeal
There’s nothing more jarring than stepping into the shower, turning on the water, and being greeted by an ear-piercing squeal. A squealing shower isn’t just annoying—it can also indicate underlying plumbing issues that may worsen over time. If you’ve been wondering, “Why does my shower squeal?” you’re not alone.
In this guide, we’ll explore the common causes of a squealing shower, how to diagnose the problem, and step-by-step solutions to silence the noise for good. Whether it’s a faulty valve, high water pressure, or worn-out parts, we’ll help you identify and fix the issue—saving you from costly plumber visits.
Common Causes of a Squealing Shower
-
Faulty or Worn-Out Shower Valve
One of the most common reasons for a squealing shower is a malfunctioning shower valve. Over time, mineral deposits, corrosion, or worn-out washers can cause the valve to vibrate, creating a high-pitched squeal when water flows through.
Signs to Watch For:
- Squealing only when adjusting temperature
- Noise coming from behind the shower wall
-
High Water Pressure
Excessive water pressure can force water through pipes and valves at an unnatural speed, leading to vibrations and squealing noises. Most homes should have water pressure between 40-60 psi—anything higher can strain your plumbing.
How to Check Water Pressure:
- Use a water pressure gauge (available at hardware stores)
- Attach it to an outdoor spigot or laundry faucet
-
Loose or Damaged Pipes
If pipes aren’t properly secured, water rushing through them can cause vibrations, leading to rattling or squealing sounds. This is especially common in older homes where pipe brackets may have loosened over time.
Quick Fix:
- Inspect exposed pipes (under sinks, in basements)
- Tighten loose brackets or add foam insulation to reduce vibration
-
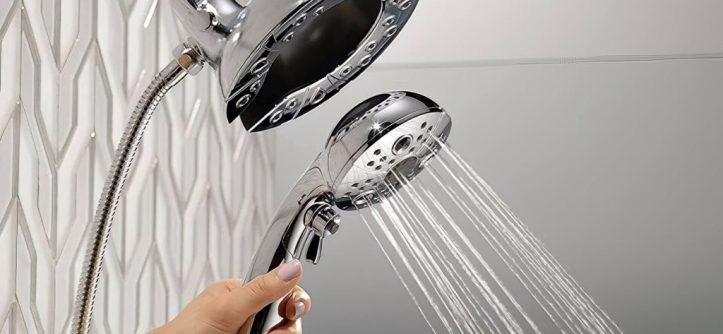
Mineral Buildup in the Showerhead
Hard water deposits can clog showerheads, forcing water through smaller openings and creating a whistling or squealing noise.
Solution:
- Soak the showerhead in vinegar overnight to dissolve buildup
- Use a toothbrush to scrub away remaining deposits

-
Faulty Cartridge in Mixing Valve
Single-handle showers use a cartridge to regulate water flow and temperature. If this part wears out, it can cause squealing, dripping, or inconsistent temperatures.
When to Replace It:
- If noise persists after cleaning the showerhead
- If you notice temperature fluctuations
How to Fix a Squealing Shower: Step-by-Step Guide
Fix #1: Clean the Showerhead
- Remove the showerhead by unscrewing it (use pliers if needed).
- Soak it in a vinegar-water solution (1:1 ratio) for 4-6 hours.
- Scrub with an old toothbrush to remove debris.
- Reattach and test the water flow.
Fix #2: Adjust Water Pressure
- Install a pressure-reducing valve (PRV) if your home’s pressure exceeds 60 psi.
- Contact a plumber if you’re unsure how to adjust it safely.
3: Replace the Shower Valve Cartridge
- Turn off the water supply to the shower.
- Remove the handle and trim plate to access the cartridge.
- Use a cartridge puller to extract the old one.
- Insert the new cartridge and reassemble the fixture.
Fix #4: Secure Loose Pipes
- Use pipe straps or foam insulation to stabilize vibrating pipes.
- Check for leaks while inspecting pipes.
Preventing Future Shower Squeals
✅ Install a Water Softener – Reduces mineral buildup in pipes and fixtures.
✅ Regular Maintenance – Clean showerheads every few months.
✅ Monitor Water Pressure – Test annually to prevent strain on plumbing.
✅ Replace Worn Parts Early – Don’t wait for squealing to worsen.
When to Call a Plumber
If you’ve tried these fixes and your shower still squeals, it’s time to call a professional. Persistent noises could indicate:
- Hidden pipe damage
- Major valve failure
- Water hammer issues (a serious plumbing concern)
Conclusion: Silence Your Squealing Shower for Good
A squealing shower is more than just a nuisance—it’s a sign that something in your plumbing needs attention. By identifying the cause (whether it’s high water pressure, a faulty valve, or mineral buildup), you can take the right steps to fix it.
Related Topics:
Understanding the Basics – A Beginner’s Guide to Septic System Repair


Leave a Reply